New Control Tutorial
Here are the steps to add a new control to a Commander control panel. Make sure you have downloaded and installed the Commander PC Server beforehand!
To add a new control:
Step 1: Click an empty area of the screen. When the menu appears at the bottom of the screen, click the highlighted button:

This will open a settings screen to add a new control:
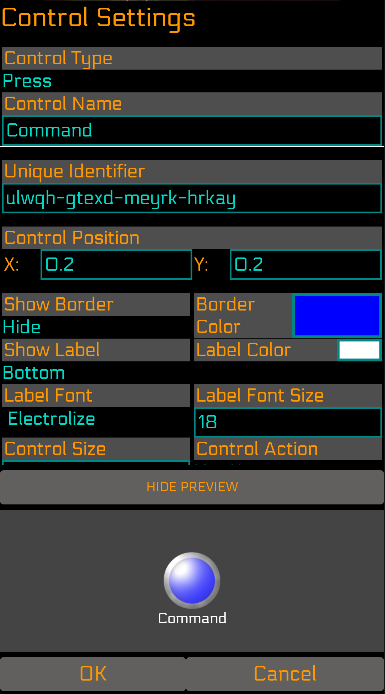
From this screen, you can set any property for the new control. Tapping on the name of the property (e.g. tapping on ‘Control Type’) will show a description of the property.
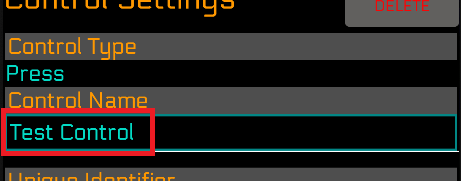
Step 2: Set the control name. This is the name that will appear as the label for the control. In this case, the control name will be set to ‘Test Control’.
Step 3: Next, set the border color to green, and set ‘Show Border’ to ‘Show’. Tapping the color next to ‘Border Color’ will open a screen where a color can be selected.

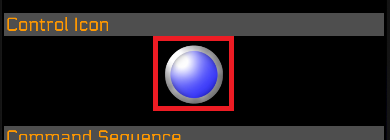
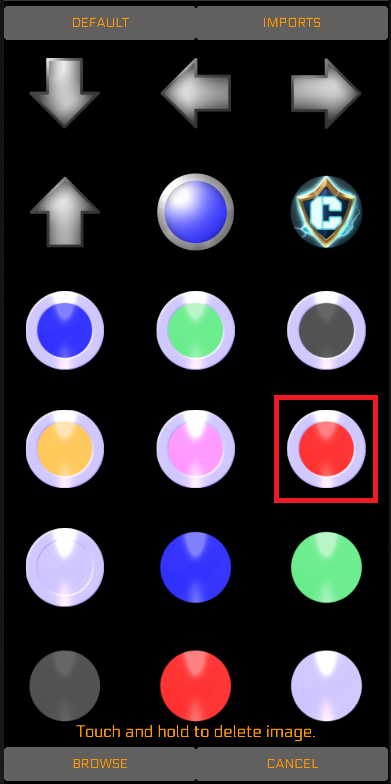
Step 4: Now, the icon for the new control will be set. Tap the icon below the ‘Control Icon’ setting (note you may need to swipe up to scroll down to this and other settings depending on your device). Tapping the icon will bring up a new screen where you can select an icon from the default set, or an imported icon from another panel.
For this tutorial, select the red icon with the silver border:
Note that the preview updates as settings are changed, and now shows the new icon.
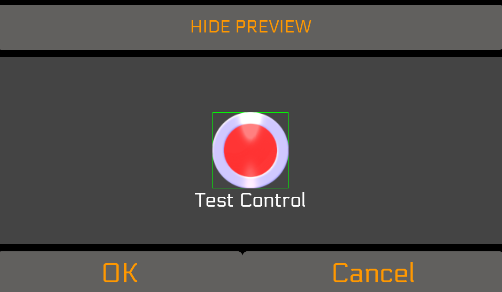
Step 5: Now it is time to set the commands sent to the PC when the control is tapped. This is entered in ‘Command Sequence’. You can add any sequence of keys, including ‘Special’ keys such as SHIFT, CTRL, ENTER, etc. Special keys can be added by tapping the ‘<SPECIAL>’ button. In this simple tutorial, the ‘a’ key will be pressed.
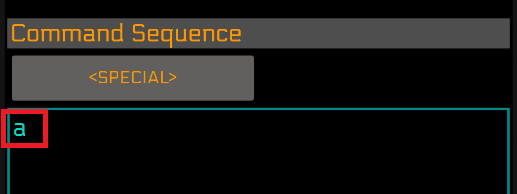
** Note that more complicated commands can be set using the Phantom scripting language. In order to use the Phantom scripting language, you must select ‘Script’ from ‘Control Action’ (do not do this for this simple tutorial, however, as we will just be using a hot-key).
Step 6: Tap OK, and the new control will be added to the command panel.
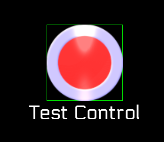
The new control now appears in the control panel.
Step 7: Select ‘Edit’ mode (if not already in ‘Edit’ mode) by tapping the mode button in the main menu (if the menu does not appear, tap an empty area of the screen):

The text will change from ‘LIVE’ to ‘Edit’. You can now drag the control anywhere on the screen to place the control. Additionally, tapping the control will open the control settings screen where you can modify the settings.
Tap the mode button again to return to ‘LIVE’ mode. Now it is time to test your new control!
Step 8: Test the control. Make sure Commander PC Server is installed, and that your device is connected to your PC. If it is not connected, tap the ‘Settings’ button and tap ‘Connect’ to bring up a list of connections.

On the PC, for this test, open Notepad or another text editor. On your device, while in LIVE mode and connected, tap your ‘Test Control’. A simulated ‘a’ keystroke should occur on your PC.
Congratulations! You have created your first control in the Commander app. Check out some of the controls in the control panels shipped with the app to see some of the many possibilities available with Commander controls.
Additional tips:
You can open an existing control panel by tapping the ‘Open’ icon in the main menu, which will show a list of installed control panels.

Tapping ‘Settings’ from the main menu will open a screen with several additional features to create new control panels, connect to a PC, and import/export panels.

You can create a new control panel by tapping ‘Settings’ from the main menu, then ‘Create New Panel’.
You can edit the name, icon, background, and other settings for the currently open control panel by tapping ‘Settings’ from the main menu, then ‘Edit Current Panel’.
To save a copy of your control panel on your device, go to the main menu and choose ‘Settings’. Then, tap ‘Export Panel’ and the file will be downloaded to your ‘Download’ directory. The file name will be the same as your control panel name. You can use this file to restore your control panel on another device or share it with your friends. To load a control panel from a file, go to the main menu and choose ‘Settings’. Then, tap ‘Import Panel’ and select the file you want to use. You should export your control panel often to keep a backup.
You can see a log of commands sent an any errors that occurred by selecting ‘Settings’ from the main menu and tapping ‘View Log’.
New Control Panel Tutorial
To create a new Control Panel in Commander, tap the ‘Settings’ to get to the main menu:

From the Settings menu, select ‘Create New Panel’. This will bring up the Panel Settings.
- Set the Name: Name the Command Panel as ‘My Panel’. This name will be displayed when opening a Command Panel and will also be used when exporting the panel to a file for sharing.
- Change the Panel Icon: Tap the default icon to open the icon selector. Choose an icon from the defaults or upload one from your device. For this tutorial, keep the default icon.
- Set the Orientation: In the ‘Screen Orientation’ setting, choose either Portrait or Landscape. For this tutorial, keep the default orientation (Portrait).
- Change the Background Color: Tap the box next to the ‘Background Color’ setting to open the color picker. Select a new background color. For this tutorial, choose Black.
- Select a Background Image: Tap the box or image under ‘Background Image’ to select a background image. For this tutorial, choose the gray clouded background or upload an image from your device by tapping ‘Browse’.
- Set Grid Snap Spacing: The Grid Snap Spacing determines the snap grid used to place controls in the panel, expressed as a percentage of the screen width. For example, if the screen is 100 pixels wide and the Grid Snap Spacing is 10%, controls will snap to the nearest 10 pixels (e.g., 20, 30, 40, etc.). This helps with control alignment. For this tutorial, keep the default of 5%.
- Complete the Settings: Tap OK to finalize the settings. This will open the new Control Panel. Follow the New Control tutorial to add controls to the panel.

To Edit control panel settings, open the main Settings menu and select ‘Edit Current Panel’. This will bring up the same settings as the ‘New Control Panel’, where the settings for the currently open control panel can be changed.
